Cheers, DIY Crafts

Stop pouring leftover wine down the drain! Put it on your face!

With the holiday season upon us, there are going to be plenty of occasions to enjoy a glass of red wine with friends and family. If you are hosting the party, it will be inevitable that you will be left with multiple partially consumed bottles. Of course, the easy option would be, to simply pour it down the sink and recycle the bottles. And why not, tidying up is a pain and who doesn’t want to get it done as quickly as humanly possible, right! Well, I have recently learnt that this delicious tasting drink, has more to it than meets the eye. Believe it or not, there are several reasons why you should keep the wine and continue to enjoy all of its benefits.

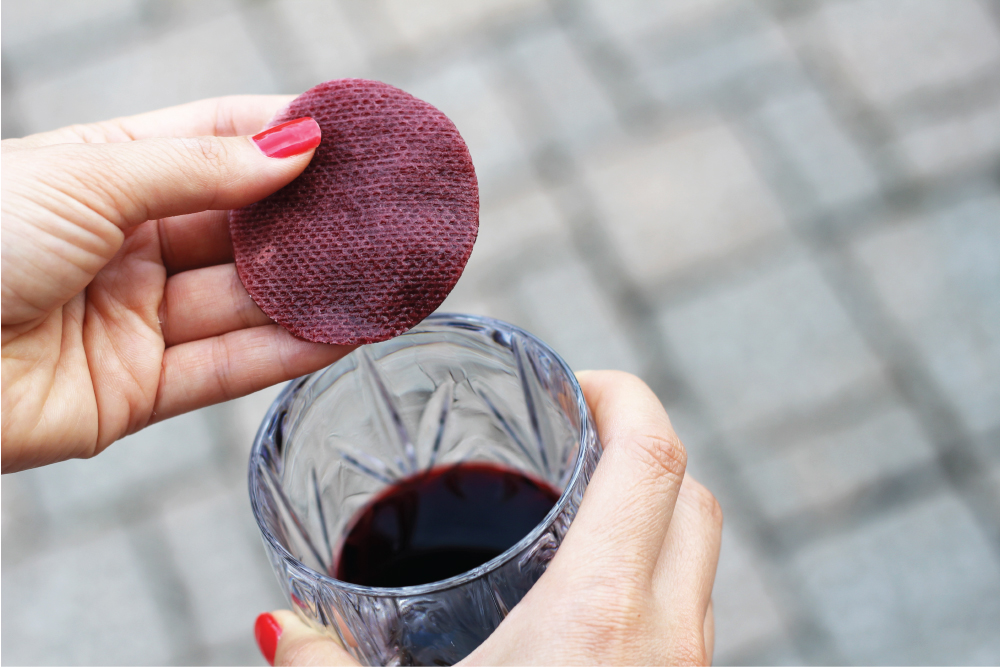
Listen up ladies, there is no reason to spend your money going to spas. Instead, relax in your own home and have one of the best facial treatments ever, and here’s the reason why! The antioxidants that give red wine its grandeur, believe it or not, are equally as beneficial for your skin. The resveratrol and exfoliating tartaric acid soften, disinfect, and regenerate your skin, leaving it looking smoother and helps with the anti-aging process. It doesn’t end there, use it as a toner or simply dump the red wine into your bath water and soak the night away. Be as generous as you possibly can. Your skin will thank you later, feeling super soft and glowing afterwards.

Let’s move onto the kitchen. Do you want to serve a delicious steak for dinner and impress your family? This is where red wine is super impressive. By marinating your steak for about six hours, you can actually reduce the cancer causing compounds which are formed when frying or grilling your meat. And by reducing I mean almost nullify it completely, by a whopping 90 percent! Don’t forget to add in your usual herbs and spices too. The end result, your meat will not only taste more flavorful, be more tender, but will be more juicy too.

Still on the kitchen front, want a natural cleaner to kill unwanted bacteria on your fruit and vegetables! The alcohol in the wine will remove impurities far better than just water. It has even been reported to destroy bacteria like e.Coli and salmonella. Make a spray bottle of this and have it handy in your kitchen.

Obviously garden fertilizer is next on the list, right!! It is never too late to give your compost heap a helping hand. Red wine has made it very simple and easy. Wine acts as a compost “starter,” by spurring the bacteria in the compost to get to work. In gratitude, your garden will flourish in spendour.

Lastly, as this is the season to be jolly an‘all and with the weather getting remarkably colder, why not make your own mulled wine. Mulled wine, pronounced “mold”, which of course you knew all along, is a drink which is served hot and complemented with spices. It’s guaranteed to warm you from the inside out…just perfect for Christmas. If you haven’t tried it, don’t worry the recipe is simple.

INGREDIENTS

  • 1orange, sliced and seeded
  • 12cup sugar
  • 2 cups water
  • 1 teaspoon ground cloves
  • 2 teaspoons cinnamon
  • 1 bottle red wine


DIRECTIONS

  1. Combine the orange, sugar, water, and spices in a large stainless steel or enameled pot.
  2. Slowly bring to a boil, reduce heat, and simmer for 15 minutes.
  3. Reduce the heat, add the wine, and slowly reheat but do not boil.
  4. Serve warm in mugs.
  5. Serves 8.


Cheers!!

Photo via artifactgirl


Standard
DIY Crafts

Unique gift ideas made from wine corks

For the wine lover on your list, make them something they really will appreciate. Collect a bunch of wine corks (you know you have plenty of opened wine bottles!) and create something fun to give your friends and family this holiday season.

Holiday Wine Cork Wreath

A pretty wreath can say a lot in a home, especially during the holidays. Make your own with wine corks attached to a sturdy base (foam, bamboo, etc) then sprinkle it with red holly berries and lush greenery to give it that holiday cheer.


Fancy Wine Stoppers

What is every wine lover always looking for? A wine stopper! Instead of letting them plug up a nice cabaret with just any old stopper, make one that is unique and worth their vino. Get some fancy knobs at a craft store and attach it to a cork for a quick and easy gift that keeps on giving.

Votive Holders

Set the mood with pretty handmade candle holders that are ideal for a hostess gift at the next holiday party. Place the wine corks around the candle (securing them with base) then wrap a festive bow around it for added color.

photos source: pinterest

Standard
DIY Crafts

Inspirational Earth Day DIY ideas for wine drinkers.

Earth Day should be everyday just like your daily glass of wine! However, once a year it is really celebrated and recognized. Throughout the year, save your bottles, corks and boxes to create some fun DIY crafts at home. Here are some photos to inspire you this Earth Day. Have the kids join you and pass on this tradition so the world will remain the fabulous place that it is.  Cheers!


Click here for more information on these crafts or even more Earth Day inspiration
All photos courtesy of PINTEREST
Standard
DIY Crafts, Recipes, Wine Tips

SALTED CARAMEL PIE

The perfect Chardonnay, Port or Syrah PairingImagee, v

Ingredients:

1 1/4 cups graham cracker crumbs (about 5 ounces)
4 tablespoons unsalted butter, melted
1/4 cup light brown sugar
Two 14-ounce cans sweetened condensed milk
Fleur de sel
2 cups heavy cream
2 tablespoons confectioners’ sugar

Directions:

Preheat the oven to 350°.   In a food processor, pulse the graham cracker crumbs with the melted butter and light brown sugar until the crumbs are moistened.  Press the crumbs evenly into a 9-inch glass or metal pie plate.  Bake for about 8-10 minutes, just until lightly browned.  Let cool. Increase the oven temperature to 425°.

Scrape the condensed milk into a 9-by-13-inch glass baking dish and sprinkle with a scant 1/2 teaspoon of fleur de sel.  Cover the dish with foil and place it in a roasting pan.  Add enough hot water to the pan to reach one-third of the way up the side of the baking dish.  Bake, lifting the foil to stir 2 or 3 times, until the condensed milk is golden and thickened, about 2 hours; add more water to the roasting pan as necessary.  The consistency of the caramel should be like dulce de leche. Don’t worry if it is lumpy; it will smooth out as it chills. {It kind of looks like curdles when cooking and even when you pour it in the pie crust – but it does smooth out.}

Scrape the caramel filling into the pie crust, smoothing the top.  Spray a sheet of plastic wrap with vegetable oil spray and cover the pie.  Refrigerate until the filling is chilled and set, at least 4 hours or overnight.

In a bowl, using an electric mixer, beat the cream with the confectioners’ sugar until firm.  Remove the plastic.  Mound the whipped cream on top of the pie and sprinkle with fleur de sel.  Cut into wedges and serve.

Make Ahead:  The recipe can be prepared through Step 2 up to 5 days ahead. Refrigerate the crust and filling separately.
Recipe from Food and Wine, November 2011
Standard
Cheers, DIY Crafts

DIY Vintage Trophy Wine Stoppers

First, use a drill to make a 1/8-inch-wide hole halfway down into a new cork ($3.99 for 30).

Next, twist off the top of a vintage trophy (typically a few bucks each at thrift shops and garage sales).

Image

Apply superglue to the underside of the trophy top’s base and the screw that extends from it.

Insert the screw into the cork and twist the pieces together until flush and a tight bond forms.

Allow one hour of drying time before using your prize design.

DIY: Geode Bottle Stoppers

Tools: an assortment of geodes (with flat bottoms).

1. Apply glue to the larger end of the cork.

Image

2. Adhere geode and let dry completely.

Image


Looks like…


Geode Wine Stoppers

Standard
DIY Crafts

Gem Stone Necklace DIY

Beautiful idea!

M&J Blog

We’ve combined some of our favorite M&J materials to create this jaw dropping  lucite gem stone necklace.

SUPPLIES

Supplies

Tear Drop Pendant Style No 45063

Shimmering Marbleized Acrylic Pendant Style No. 31859

5 MM Jewelry Metal Chain

Felt

Hole Puncher

Jump Rings

E-6000 Glue

Pliers

STEPS

Cut the felt into a unique shape. This will be used as the base of your necklace, so make sure your pendants will fit comfortably on this surface.

Cut the Felt

Once you have created the base silhouette, lay the shape down on a flat surface. At this point, you will plan out where each pendant will sit.

DSC_0133

Using your E-6000, apply a small amount of glue on both the pendant and the fabric. This allows the glue to hold much better over time.

DSC_0134

Continue gluing each pendant down until you are satisfied with your necklace.

DSC_0137

It is not time to attach the jump rings and the chain.

View original post 66 more words

Standard